
You can find that information here:
https://students.usask.ca/study/tech-requirements.php
If you have any questions or concerns about what you see there, you can certainly reach out to me at tyson.brown@usask.ca .
NOTE: If you are buying a used computer from someone else, always ensure that they have properly prepared the computer for resale.
Here's some information from Microsoft's Support site for how to do that for a Windows computer
Here's some information from Apple's Support site for how to do that for a Mac Computer
Important Note: The University of Saskatchewan does not provide licenses for Windows 10 or 11 to students. So, it is important that you check, before purchasing a used Windows computer that it does indeed have a legal/valid copy of Windows 10 or 11 installed.
Or, at least, know how to look it up in your password manager for your web browser... Password managers are great for helping you to quickly and easily and securely connect to USASK services, but... there's a really good chance that if you ever have problems with your regular web browser, you're going to need to use a different one that may not have your passwords saved.
When you try to connect to the wireless network on campus, you may see several different networks, including:
uofs-secure
uofs-guest
uofs-public
eduroam
The recommend network you should be using while you are on campus is uofs-secure. Here's how to connect to it.
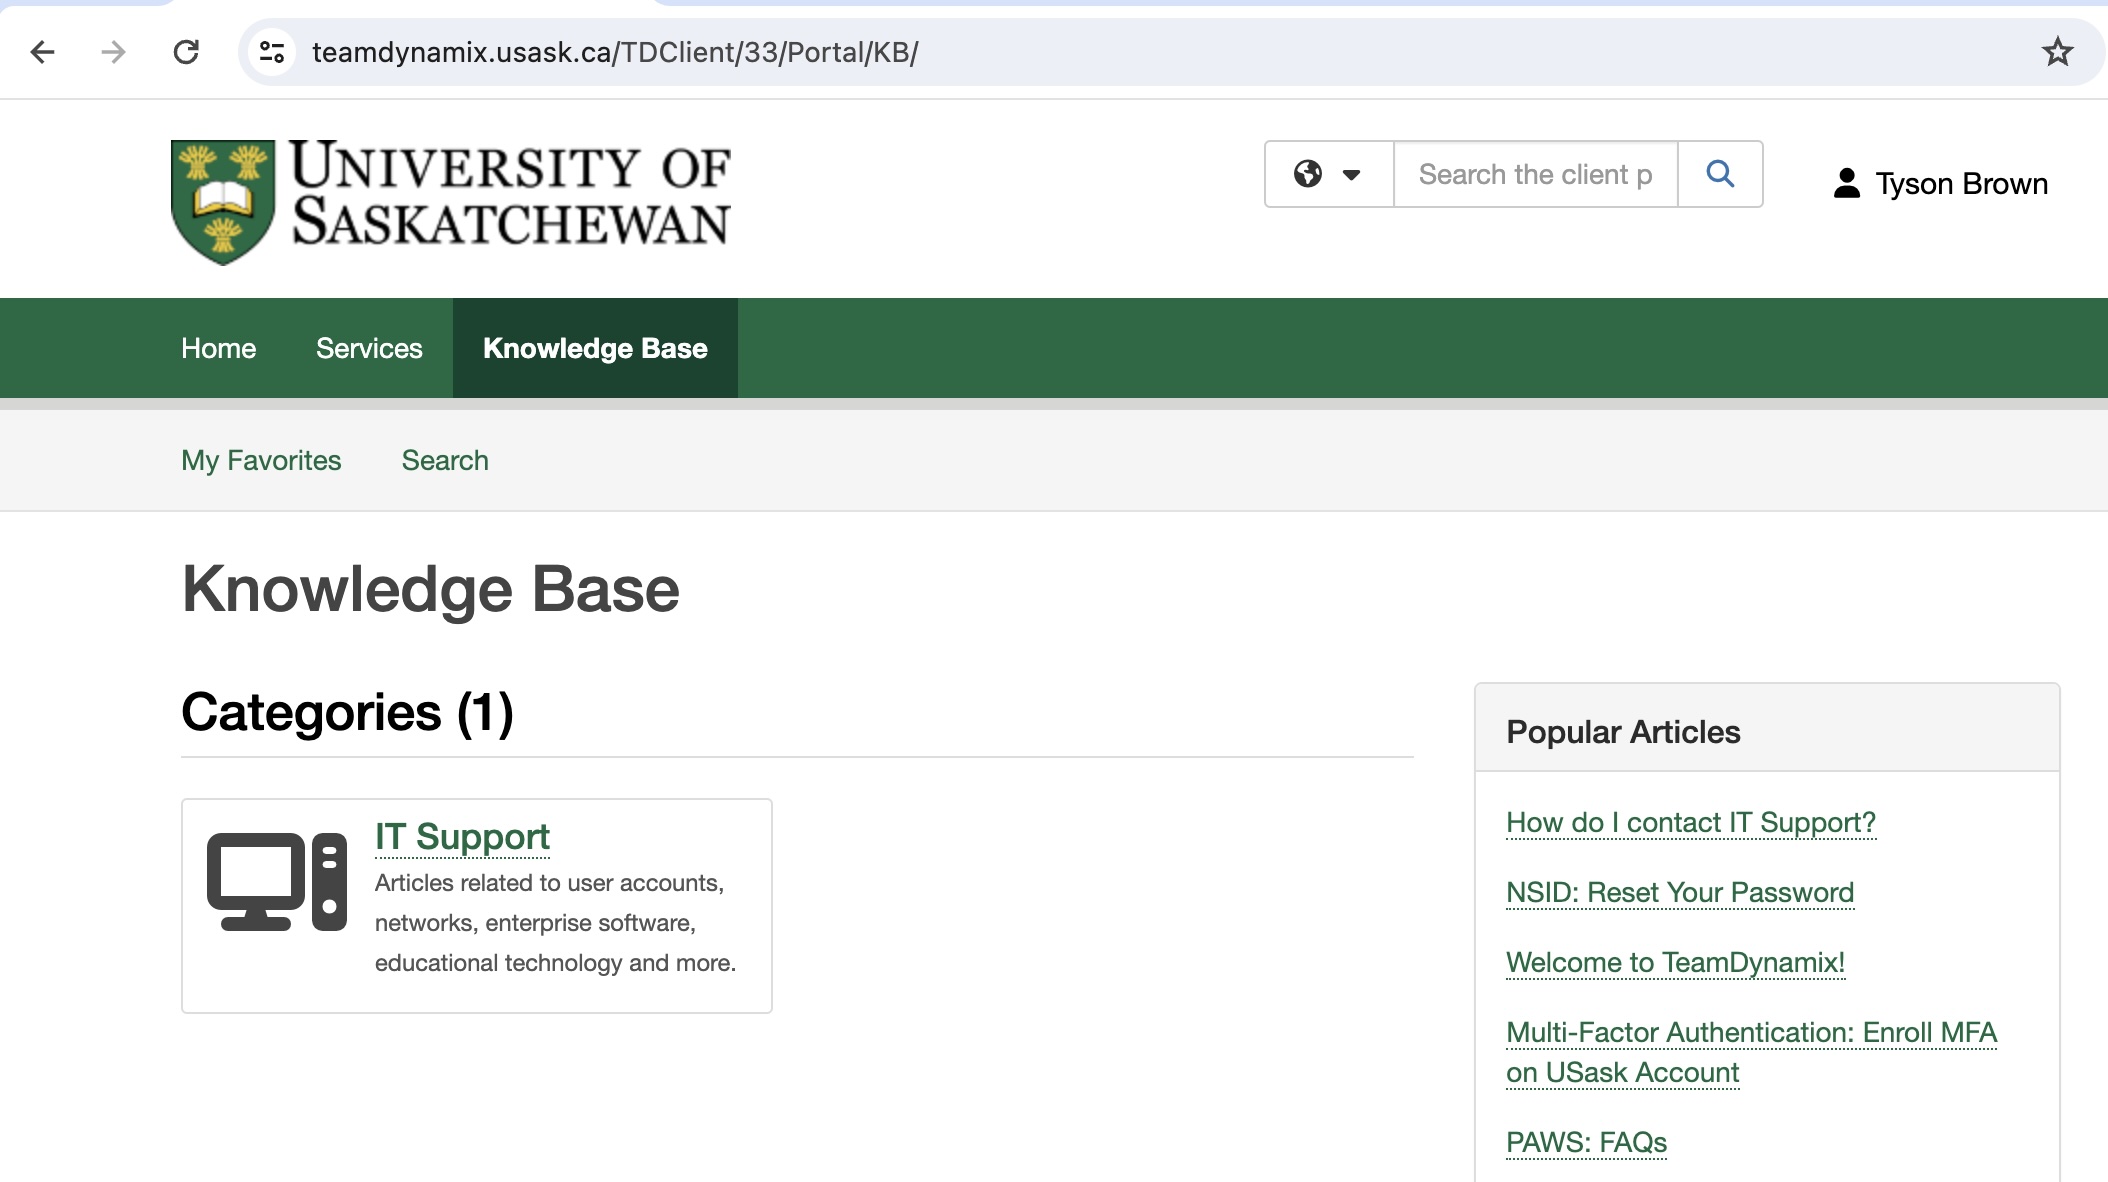
I bet you all think, after reading this far, that Tyson is just naturally brillant! Not so, gentle readers! Most of the answers about things Usask-IT-ian that Tyson gives you he finds in the University of Saskatchewan IT Support Knowledge Base... Check it out at https://itsupport.usask.ca so that you too can amaze your family, friends and fellow students with your wide-ranging knowledge of all things geeky! Once you log in there with your NSID username and password, click on the Knowledge Base tab and select the IT Support knowledge base that appears. You can choose from 12 different categories of IT knowledge articles for what you may be looking for, or you can view the popular articles from the right hand column.
If you have trouble finding answers to your questions in the IT Support Knowledge Base, you can either submit a ticket to the IT Support folks using the General IT Request link right there on that https://itsupport.usask.ca page, or fire an email to Tyson at tyson.brown@usask.ca if you need more guidance.
And now, onto the rest of the checklist....
Ah, PAWS! It is the place to go! So much stuff you can do, in one spot! PAWS (Personal Access to Web Services, and/or those furry things on the ends of the U of S Huskie's legs) is a central repository where you can access most of your USASK online services. If you're reading this, chances are you've already been there. However, in the next several checklist items, we're going to take a bit of a deeper dive into some of the things you can find there....
Your "My Profile" section in PAWS can be found in the very upper right of your PAWS window. It contains important information about you, your email, telephone and address contact information, your password, your USASK email, your opt-in services and more. Once you have reviewed your personal information in your My Profile, we're going to move on to looking at one of the most important things in My Profile, your Mulitfactor Verification settings.
Multifactor Authentication (also referred to as Multifactor Verification) is a more secure way of proving you are who you say you are when you try to connect to USASK services. It requires you to first enter your password (like normal) but then to use some other method of verification (entering a code texted to your cell phone number, confirming in an authenticator app on your trusted device, etc) to verify that you are the person logging in. If you have not already set this up for your USASK account, here's the full instructions for how to set it up for the first time.
In the above article, USASK IT Support recommends setting up the phone-based Microsoft Authenticator application and at least one other MFA authentication methods in the event that you lose access to the Microsoft Authenticator app for any reason. Let's quickly look at how to check how many methods you have set up.
| First of all, locate the Mulit-Factor Verification section of your My Profile page and click the MFA Settings button | 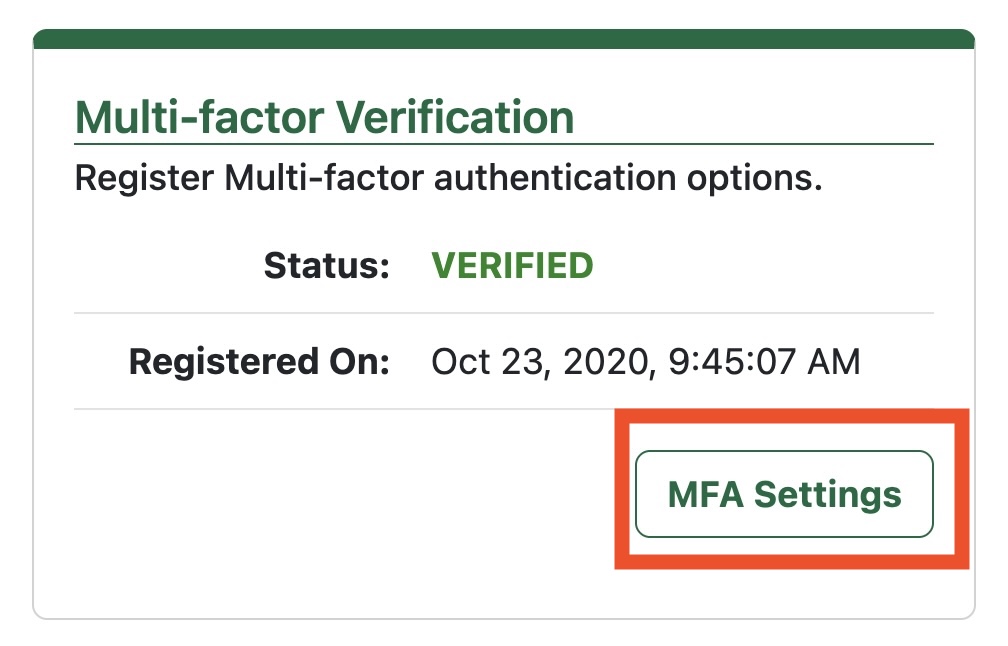 |
| In the Multi-Factor Verification window, click Update MFA options button | 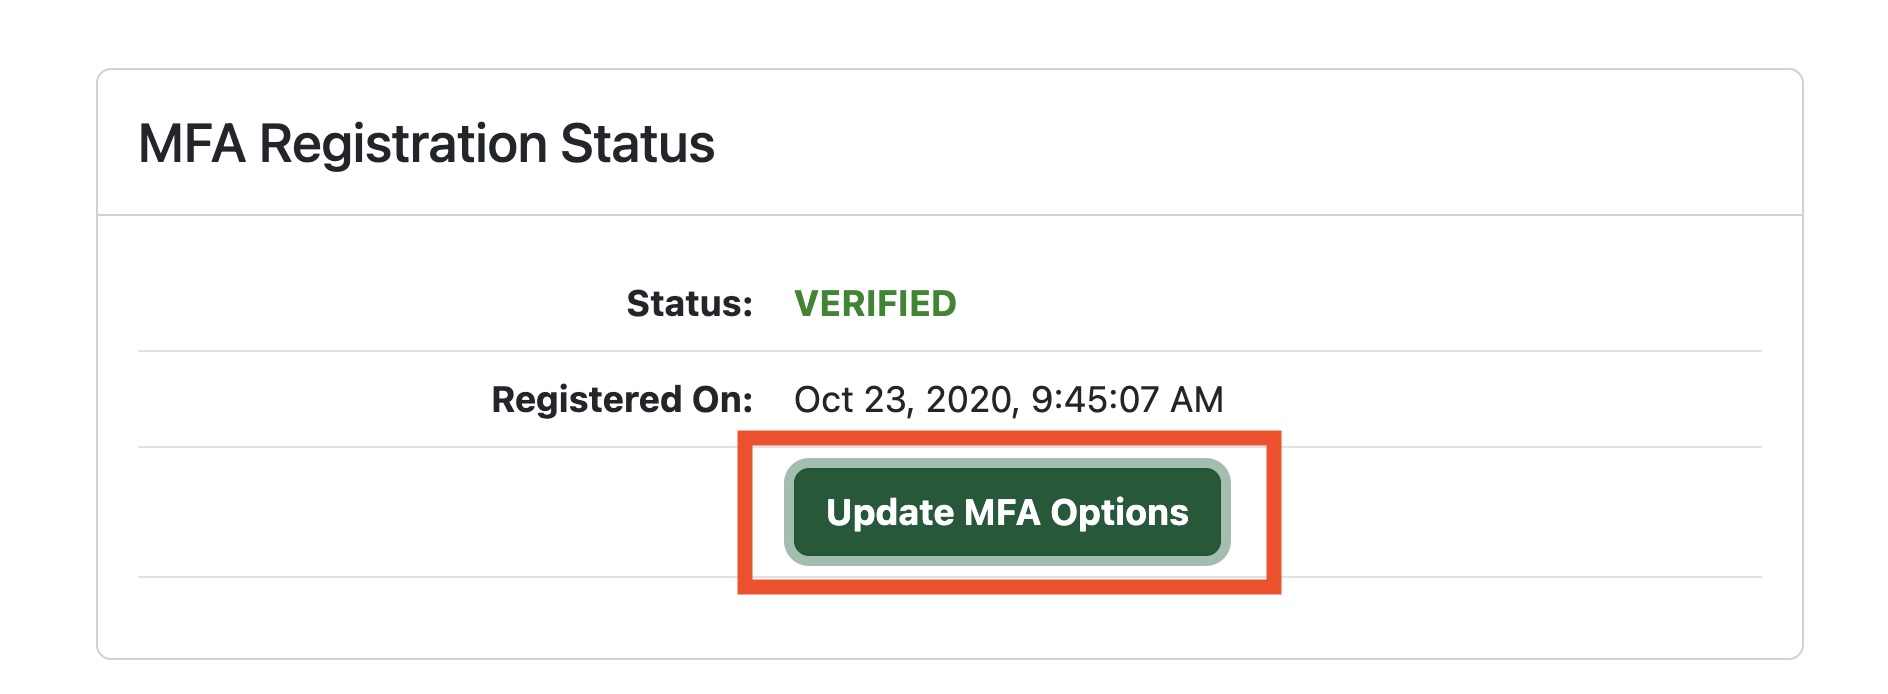 |
| This opens the Account Overview page for your Microsoft account here at the U of S. Find the section called Security Info and click the Update Info> link | 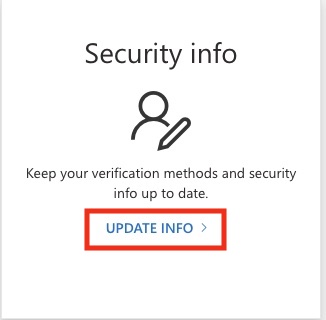 |
|
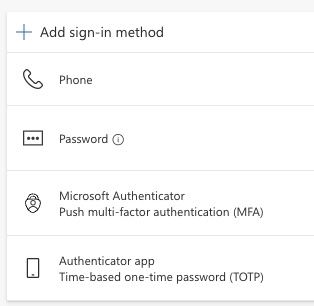
You will see all of your sign-in methods listed there, and at the top of the list you will see the option to add another sign-in method. The Phone sign-in method is the one that will text you a code to enter on the page. You can also add alternate authenticator apps like the Google Authenticator, or Authy if you are already using a different authenticator. HINT: If you get a new phone number or a second phone number, this is where you can add a second phone to your sign-in methods |
 |
While you're looking at stuff in your My Profile page, let's take a look at your USASK email settings. Things you can do if you click the Edit link the USask Email section of My Profile are: Create an email alias, set your mail forwarding, and set up and auto-reply. Let's talk about email aliases first...
Email Aliases
When you get your USASK email account after you are registered as a student, your default email account address is [your_nsid]@mail.usask.ca... So it winds up being something like gex727@mail.usask.ca... It is important to know this, but it's also not so easy to remember. By setting up an email alias, you can create an easily rememberable email address you can give out that directs email sent to you to that hard-to-remember address.
| Once you select the USask Email Aliases tab in the USASK Email section, click Create Email Alias (you are allowed to create 2). On the first line, enter your desired alias (eg, your first name and last name, separated by a period), make sure you see your NSID and @mail.usask.ca listed in the second line, then make sure to select your School in the third. Click Save Changes and voila! You have a useful email alias. | 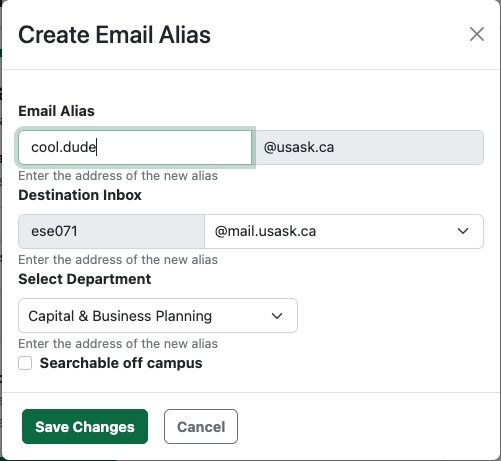 |
Forwarding
|
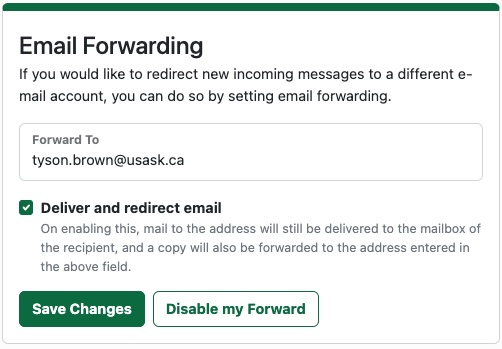
There is an option in the email settings to turn on mail forwarding, which will forward email sent to your USASK account to another email address. Note: USASK and your School strongly recommend that you do not do not enable mail forwarding. IF you decide to do this you should also check the "Deliver and redirect email" checkbox as shown to the right. Your USASK email is the official way the University and your school will communicate with you. IF you turn on mail forwarding, you accept full responsibiliity for any issues you encounter with losing email or missing important communications.
|
 |
The last IT-related thing we're going to look at in your My Profile area is how to opt-in to your USASK Zoom account. Every student registered at the U of S has access to an instititutional Zoom account, one that lets you schedule meetings, has no time limits and provides you access to a Personal Zoom Room for collaboration with your fellow students, faculty and staff. Pretty good deal, huh? The first step toward Zoom-ing is to find the Opt In Services section in your My Profile.
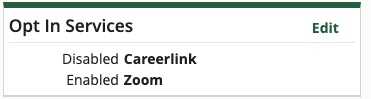
(your list of Opt In Services may look slightly different, but will contain Zoom). To opt in, click the Edit link in the upper right of the section, put a check in the checkbox beside Zoom in your list and click Save Changes. Pretty simple, right? There is much more to know about Zoom and how to set it up and use it that we'll cover in later sections of the checklist (there's gotta be something to keep you in suspense and turning pages!), but this is where you need to start!
Note: If you have previously signed up for a free Zoom account using your U of S email address, you may have difficulties opting into your U of S Zoom account. You can contact IT Support at itsupport@usask.ca to get assistance in merging your previous account into your USASK student account.
Really keen to get started with Zoom? Okay, you can close this section and go to the Getting Started With Your Zoom Account section. Just don't forget to come back and look at the other checklist steps after this one, okay? There's some pretty important stuff there!
Okay, now that you've got a bunch of the basic IT stuff set up, let's dig into 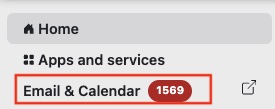 some of the other important services you have access to! First of all, your USASK Exchange email and calendar! You can access your USASK email using the Outlook Web Access (OWA) mail client, conveniently found in the left-hand menu of your PAWS window. Click on the Email & Calendar link to access the OWA client. The number in red to the right of the link is the number of unread mail messages you have. (yes, Tyson gets a LOT of emails!). We won't be covering how to use the OWA email and calendar client here, if you are new to OWA you may want to check out the OWA Users Guide on Microsoft's support site.
What if you want to use a different e-mail client?
I'm glad you asked! Because that gives you another opportunity to familiarize yourself with the IT Support Knowledge Base and see what a great resource it is for you! Check out this list of email client setup instructions! Pretty massive list, right?
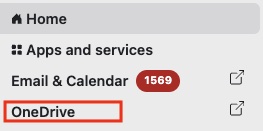
Students at USASK have access to OneDrive, which is the recommended place for you to store, save and share your important documents. You have quick access to OneDrive through the left-hand menu in PAWS, but there's so much more you can do with OneDrive. Here's a quick link to the IT Support guide for using OneDrive at USASK!
(See what we're doing here? Getting you even more familiar with the IT Support Knowledge Base!)
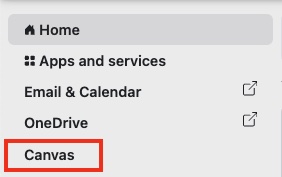 Okay, we're getting down the list of things you need to know about in the PAWS left-hand menu! Canvas is the official Learning Management System (LMS) supported here at the U of S. This is where you will find all of the information and activities for your registered courses as you progress through your academic career. For more information about how to use Canvas check out the Canvas student guide at https://students.usask.ca/study/canvas.php
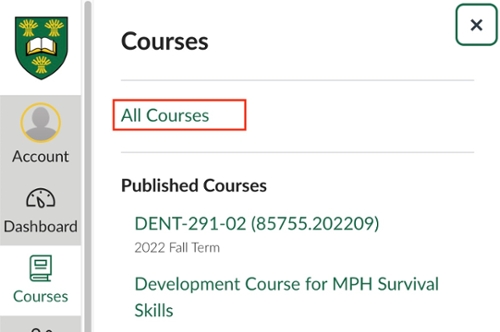 Note: If you are looking at your Canvas My Courses dashboard page before the official start of term, you may not see all your courses listed there. Don't panic! Your instructors may choose not to publish their courses to make them visible to students until the first day of term. If you are concerned about whether you are registered in a specific course, go to Canvas and choose All Courses from your Canvas Course menu. The All Courses list displays all your courses, current and past, published and unpublished.
Use the Canvas Inbox to communicate with your fellow students.
 |
To help preserve student privacy, USASK does not provide a comprehensive searchable list of student email addresses. You can use the Canvas Inbox to communicate with your fellow students, your student groups within your course, your TAs and your instructors. The Canvas Inbox is located in the Canvas Global Navigation Menu, on the left-hand side of your Canvas window
|
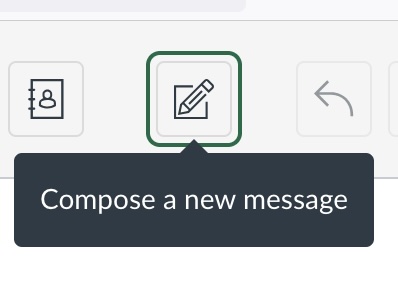
To get started with it, open your Canvas Inbox, then click on Compose a new message.
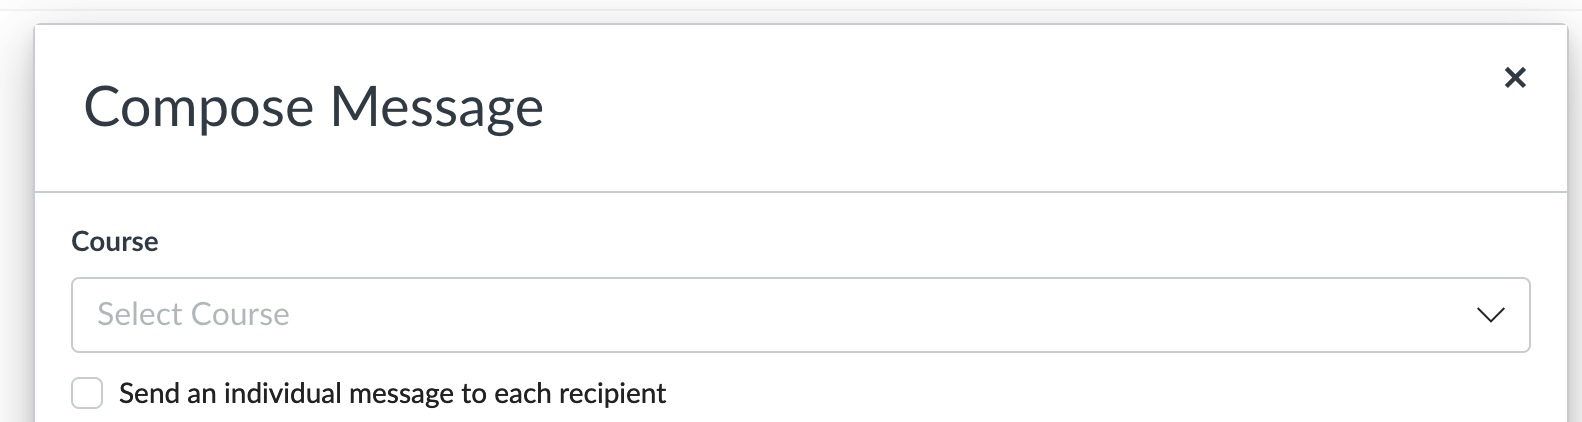
In the Compose Message box, click inside of the Course field to select the course you want to send a message within.
Once you have selected the appropriate course, click into the To: field to select who you want to send to. When the list of different roles within the course appears, select the role to whom you want to send. In this case, I selected Students.
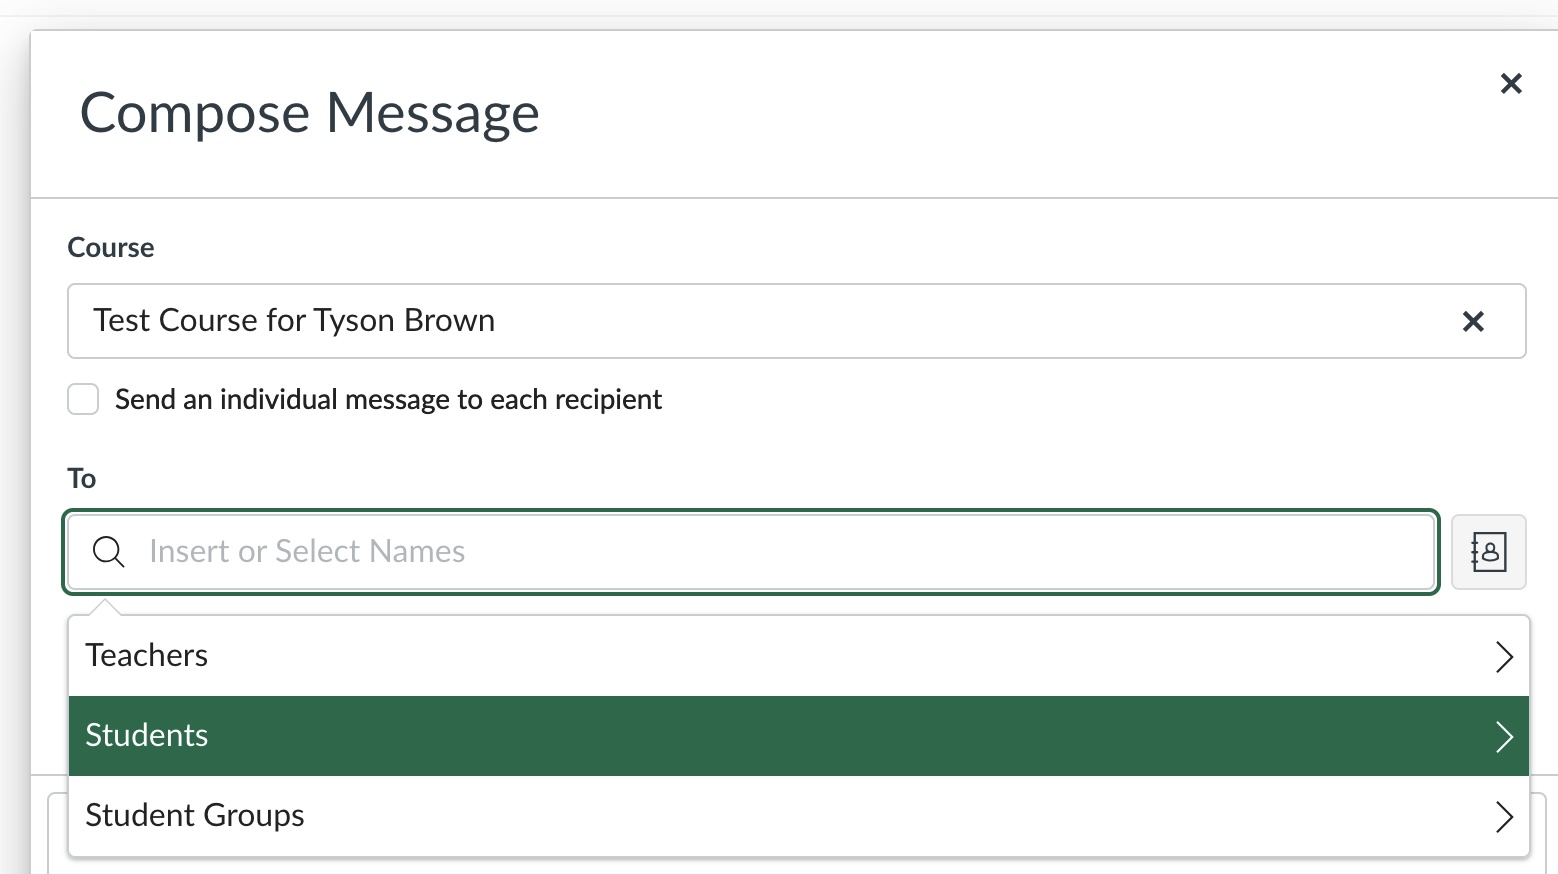
If I click again on Students, the list of students enrolled in the course appears
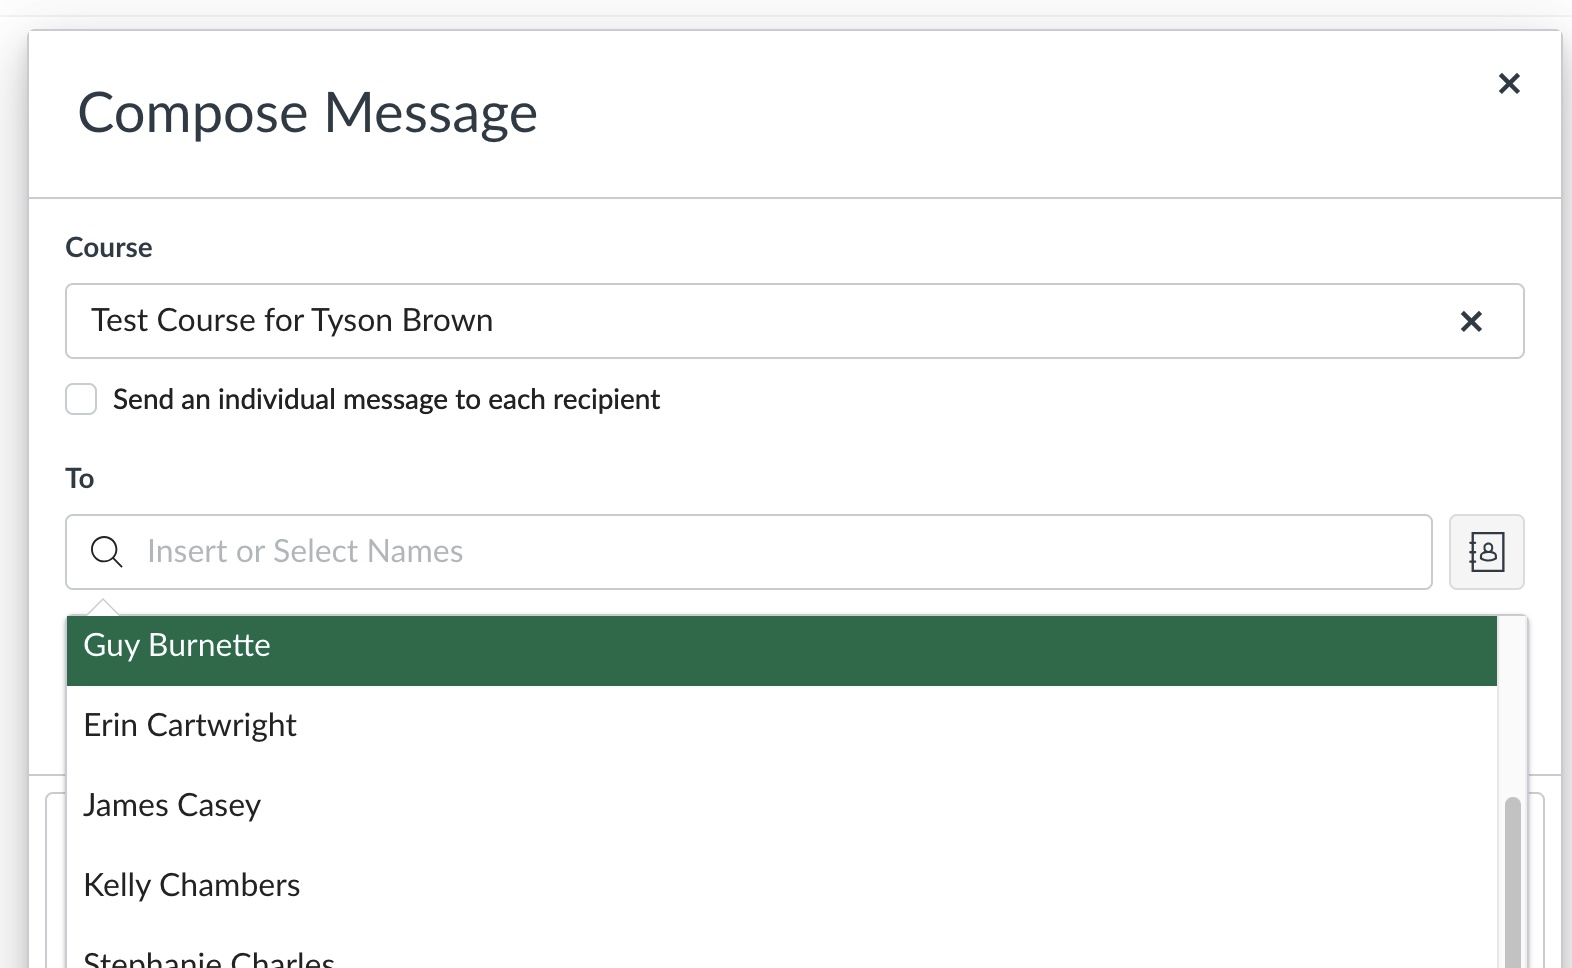
I can click on one or many names in this list to add them to the To: line
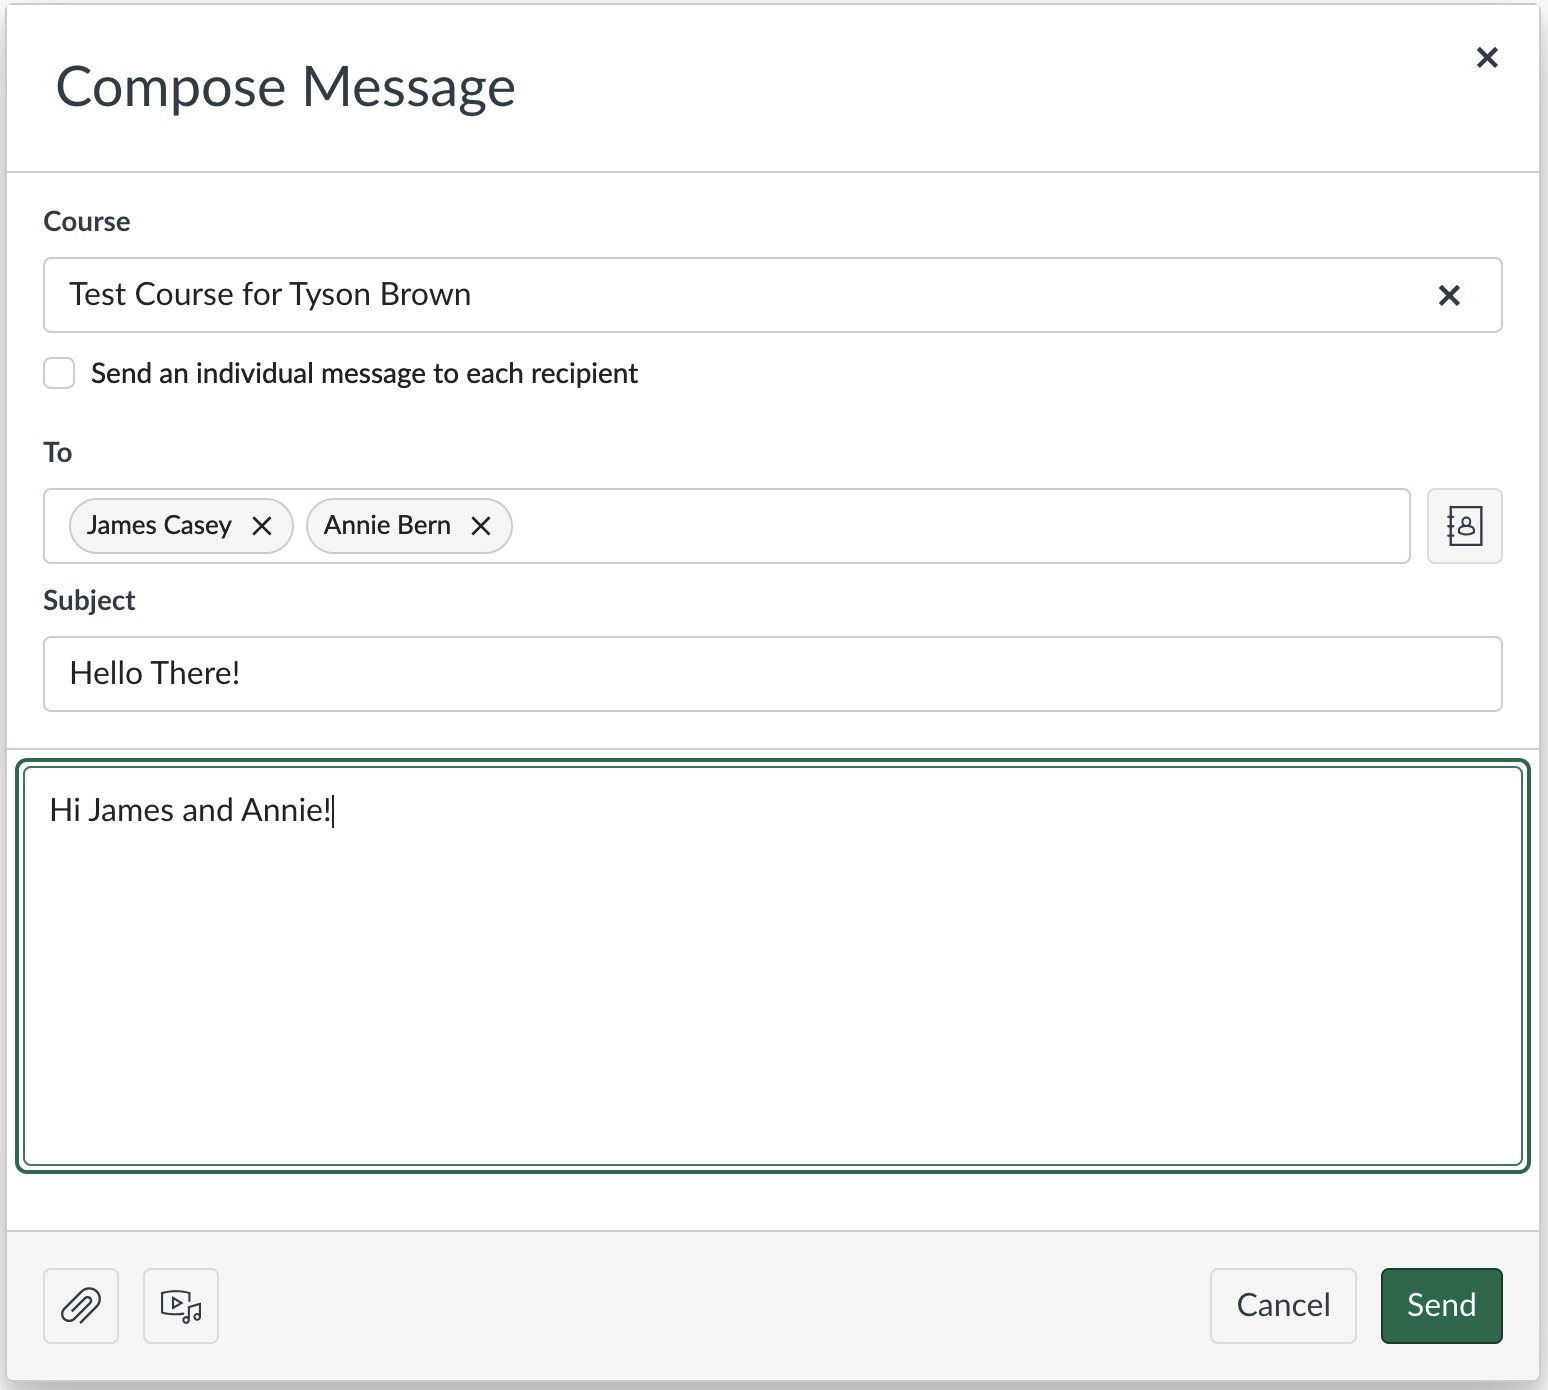
Once I've written my message, I can click Send to send it on to those students.
Important Note about the Inbox Tool:
Messages sent through the Inbox tool will be forwarded out to your USASK email account and you can reply to them. However, if you use your USASK email to send any attachements back to the person who sent you a message through the Inbox tool, the attachments will not be sent back to that person!
Once you have been accepted into your school as a registered student, you should see the link to your school's PAWS page located in the My College section of your left-hand menu in PAWS. This page contains important program information for your school. For example, the School of Public Health page contains things like their condensed term time table (once finalized), their list of approved electives, the handbooks for the different programs within SPH, and recordings of special events like Fall Orientation.
Okay, let's talk about Zoom some more.... Now that you have opted into your Zoom Account, what can you do with it and how do you do it?
Getting Zoom
Once again, here's a link to the IT Support Knowledge Base articles about getting started with and using Zoom
Setting up your Zoom application
Here's a couple of really important points about how to set up your Zoom application to work here at USASK.
- Our USASK Zoom Domain is https://usask-ca.zoom.us. So, when you first install Zoom on your computer or mobile device it may ask you that question. Alternatively, if you have used Zoom at a different institution, or with a different (non-U of S) Zoom account you may need to change your Zoom domain in your application before it will work properly with your USASK Zoom account
- We use Single-Sign-On to connect to our Zoom domain.
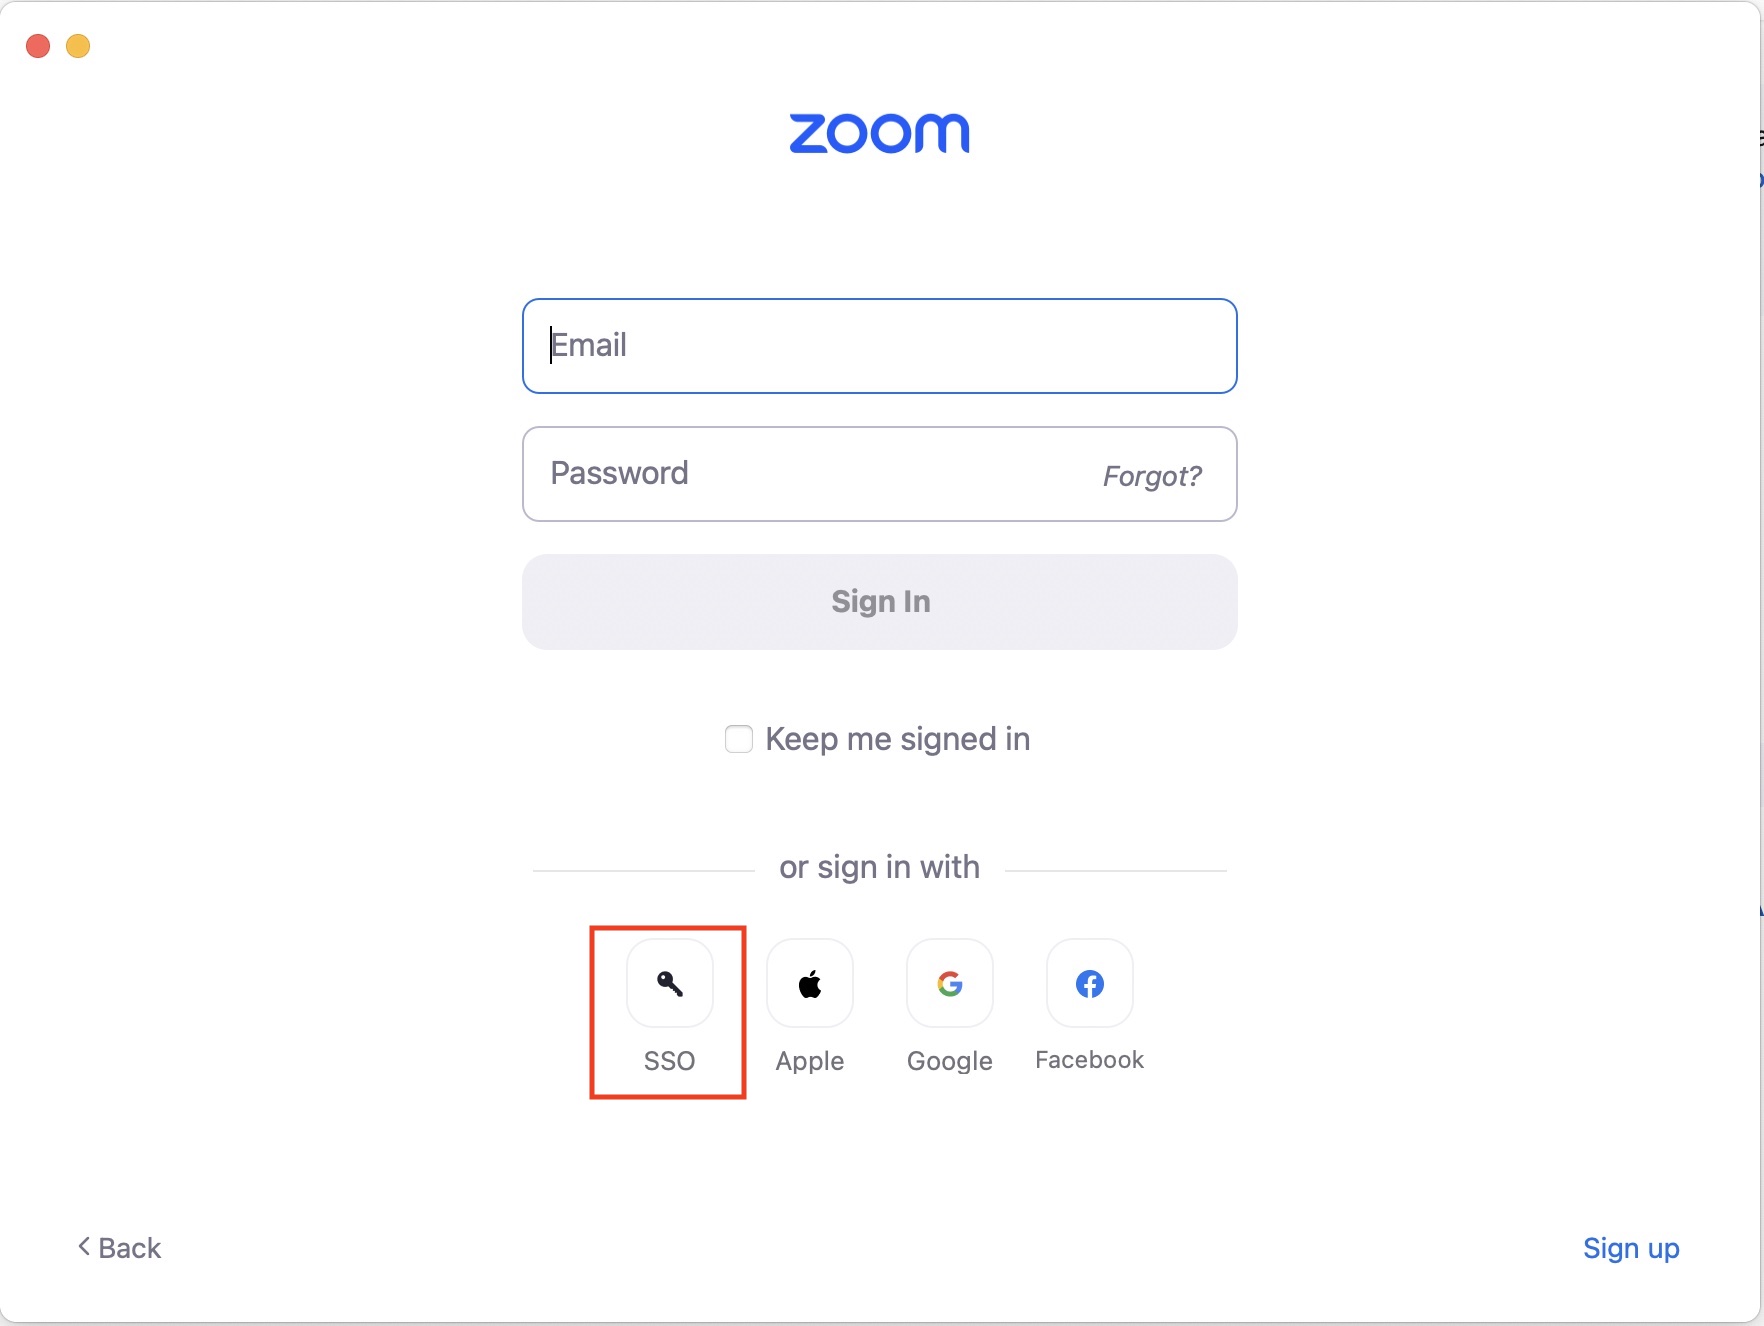
So, when you first start the Zoom app on your computer or mobile device, you will see a window that looks like this. Don't use the email and password blanks! Instead, click the SSO button (looks like a little key).
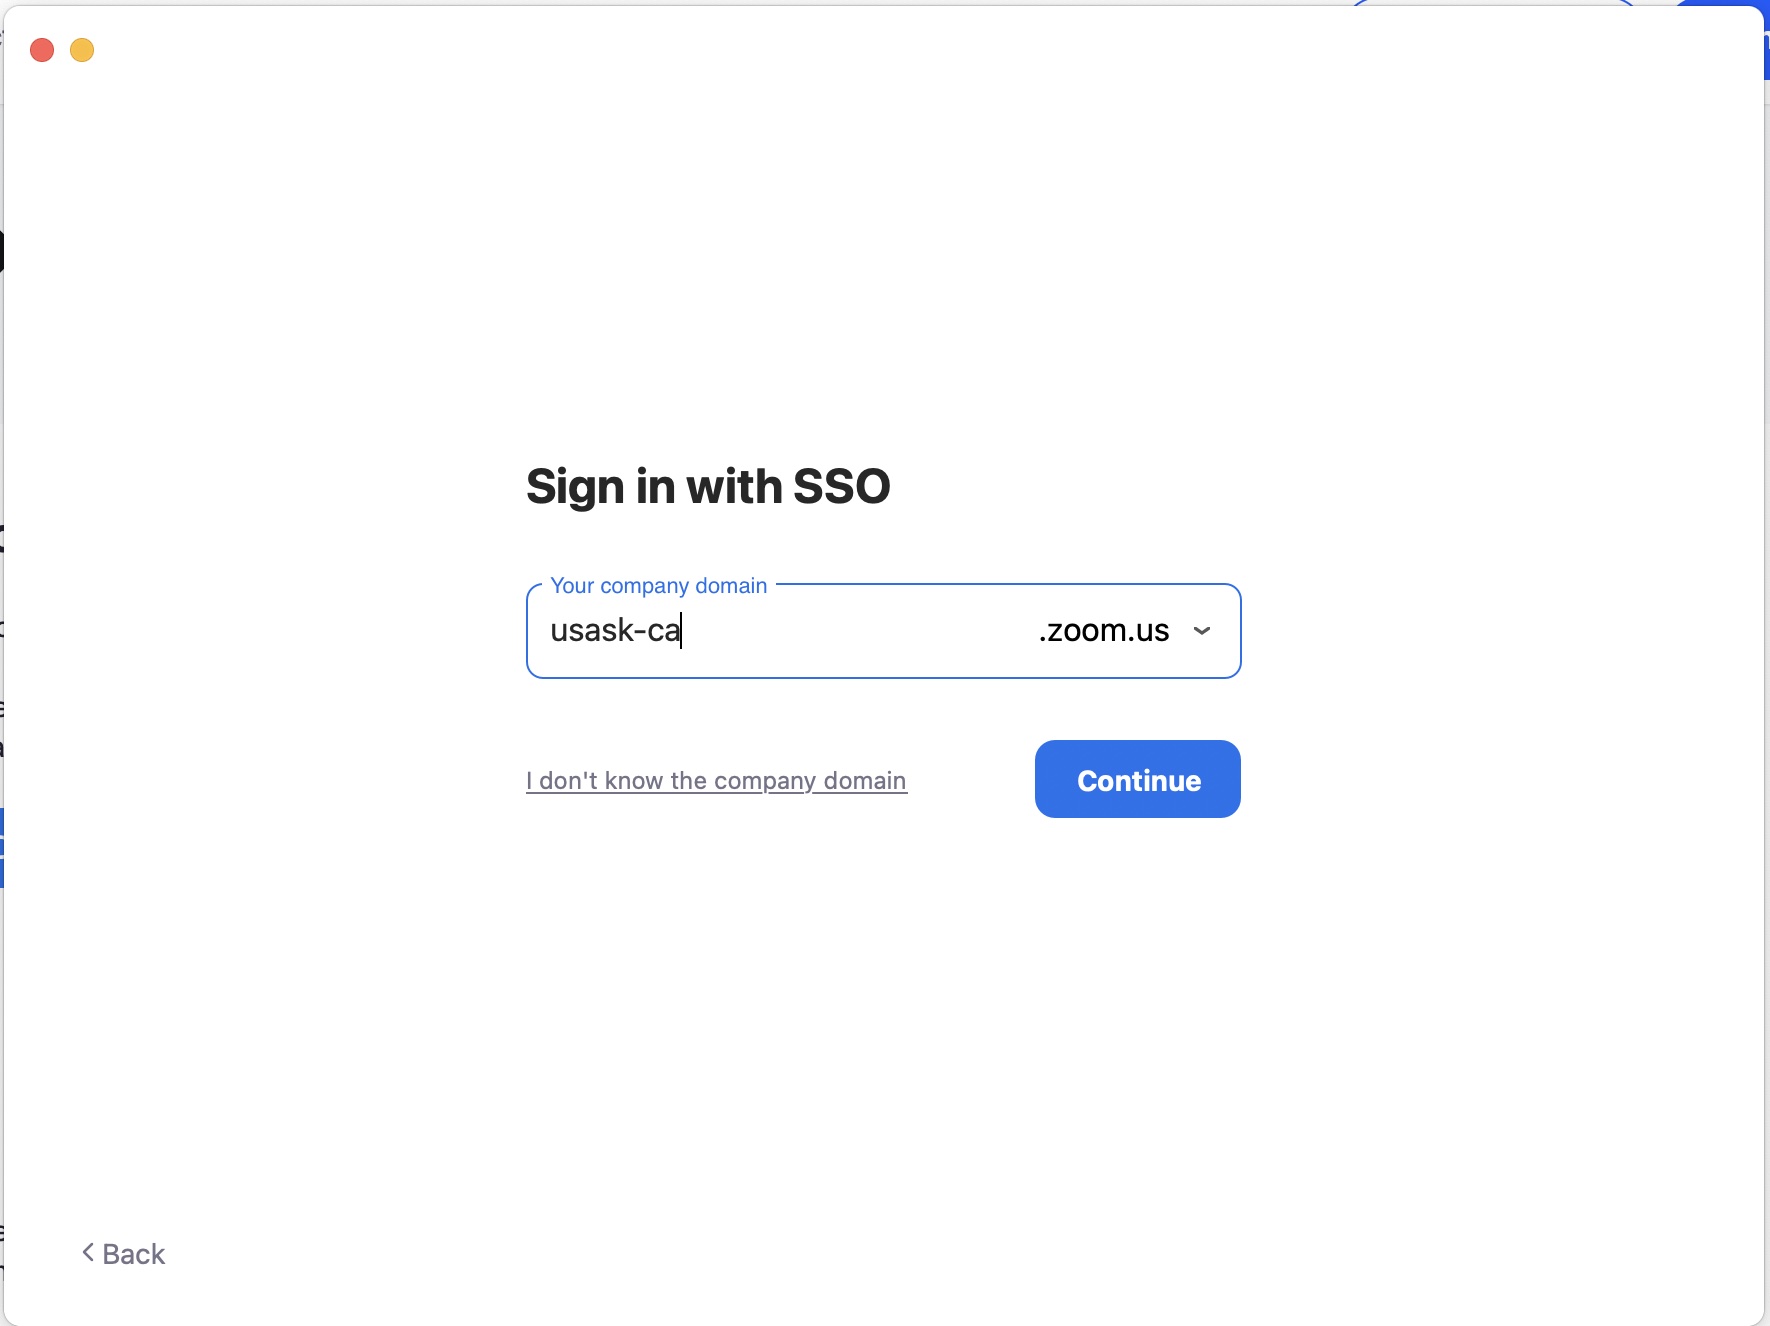 If this is a brand-new install, it will probably come up with a window that looks somewhat like this, where you can enter that "usask-ca" domain.
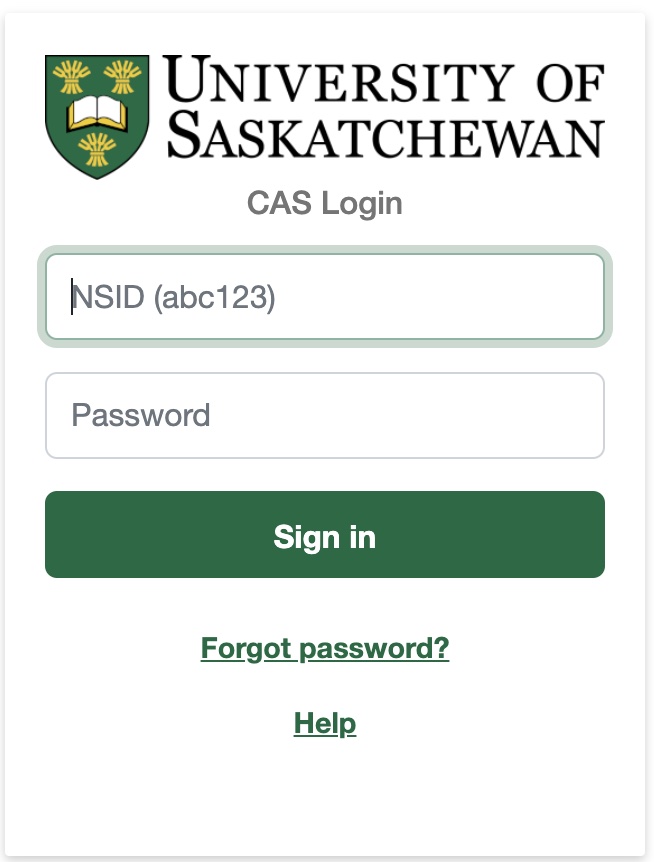 As soon as you click Continue, it will start up a web browser and bring you to a USASK login window for you to enter your username and password into. If you are already logged into another USASK service that supports Single-Sign-On (PAWS or Canvas or another service) you may not see this window come up... because Zoom can tell you are already logged in.
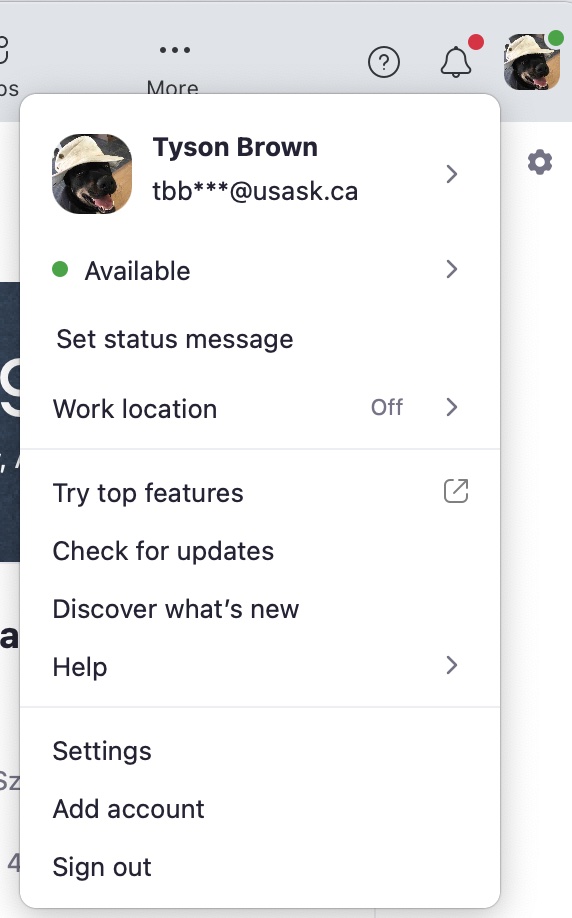 Once your Zoom client is running, you can tell if you are logged into USASK Zoom account by clicking on the account icon in the upper right.
If you schedule any meetings using your Zoom account, it is very important to ensure that you are logged into your Zoom account before you click on any meeting links you created.
If you are not logged in, Zoom will not recognize that you are the host of the meeting.
Managing your Zoom Account through the USASK Zoom Portal
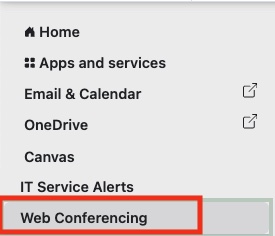
You will also find a Web Conferencing link in the left-hand menu of PAWS. You can use this link to access the USASK Zoom portal. In the Zoom Portal, you can
- Schedule Meetings
- Set up and configure your Zoom Personal Room
- Configure the myriad of different settings for your Zoom Account
For more information about how to use the Zoom Portal and work with Zoom, check out this IT Support Zoom KB article

Did you know that, as a student registered at USASK, you have access to Microsoft Office 365 to use during your studies? To get started with it, check out the instructions on the IT Support Knowledge Base here https://teamdynamix.usask.ca/TDClient/33/Portal/KB/ArticleDet?ID=181
By following those instructions, you can download and install a copy of Microsoft Office 365 on your Mac or PC. Mobile versions of Office365 are avaialable through the various apps stores for your mobile devicess (iPhone, iPad, Android).
Panopto is the University of Saskatchewan's Academic Video service (https://academicvideo.usask.ca). Panopto is the tool you will use to both watch video content like recordings of your classes and produce/present your own recordings for your classes (group or individual presentations).
You will generally find your class recordings in the Panopto Video section of each of your Canvas courses. In some courses, your viewing statistics for those recordings will be used to confirm your participation in the class if you did not attend in person or on Zoom. Panopto tracks when you accessed recordings and how much of a recording you watched.
If you are taking any Research Methods classes as part of your program, you have access to several different major software applications through your USASK account.
Using the USASK Remote Computer lab
NVivo, R, Stata and SPSS are available to you through the USASK Remote Computer Lab. Accessing these packages this way is often the easiest way to do it, particularly if you don't have a computer of your own that meets the requirements of these different packages. You can access the USASK Remote Computer Lab via Microsoft Remote Desktop or by using a current version of a supported web browser. Check out these instructions for how to set up your access to the USASK Remote Computer Lab.
Other Options for Accessing Research Software
A number of these packages are also downloadable and installable on your own computer, but either require you to obtain a license from USASK IT Requisitions (SAS and NVivo) or purchase a license at a student rate after their 30 day free trial (SPSS). Check out this list of (mostly) free software for students here.
Some Helpful IT Hints
Here are a few things that you can do that will help make your IT life at USASK a bit smoother...- Set Chrome as your default web browser. Most USASK online services behave best when used with Chrome.
- Clear your browser cache. What does that even mean, and how do you do it for your specific browser? Here's a really good article online that answers those questions! https://teamdynamix.usask.ca/TDClient/33/Portal/KB/ArticleDet?ID=161
- If something doesn’t seem to be working right online, turn it off and on again…. Restart your browser (don’t just close all the tabs, actually quit your browser so that it makes you log in again). If that doesn’t fix it, restart your computer. If that doesn’t fix it, then let’s talk!